Crush Day Recap
I don’t know why I think that I am in good shape for an event and then when the day comes, I run like a chicken with my head cut off. My crush crew was very small and two of the three people helping me had not crushed before. This led to a lot of instruction while trying to get the work done, a crazy busy day, and exhaustion when it was over.
Watch the video of the whole crazy afternoon condensed into 2 minutes and 8 steps…
Basically, the whole process of crushing wine grapes comes down to these 8 steps:
Get your grapes! I got my Malbec grapes for spring crush from gintopinto.com as usual.
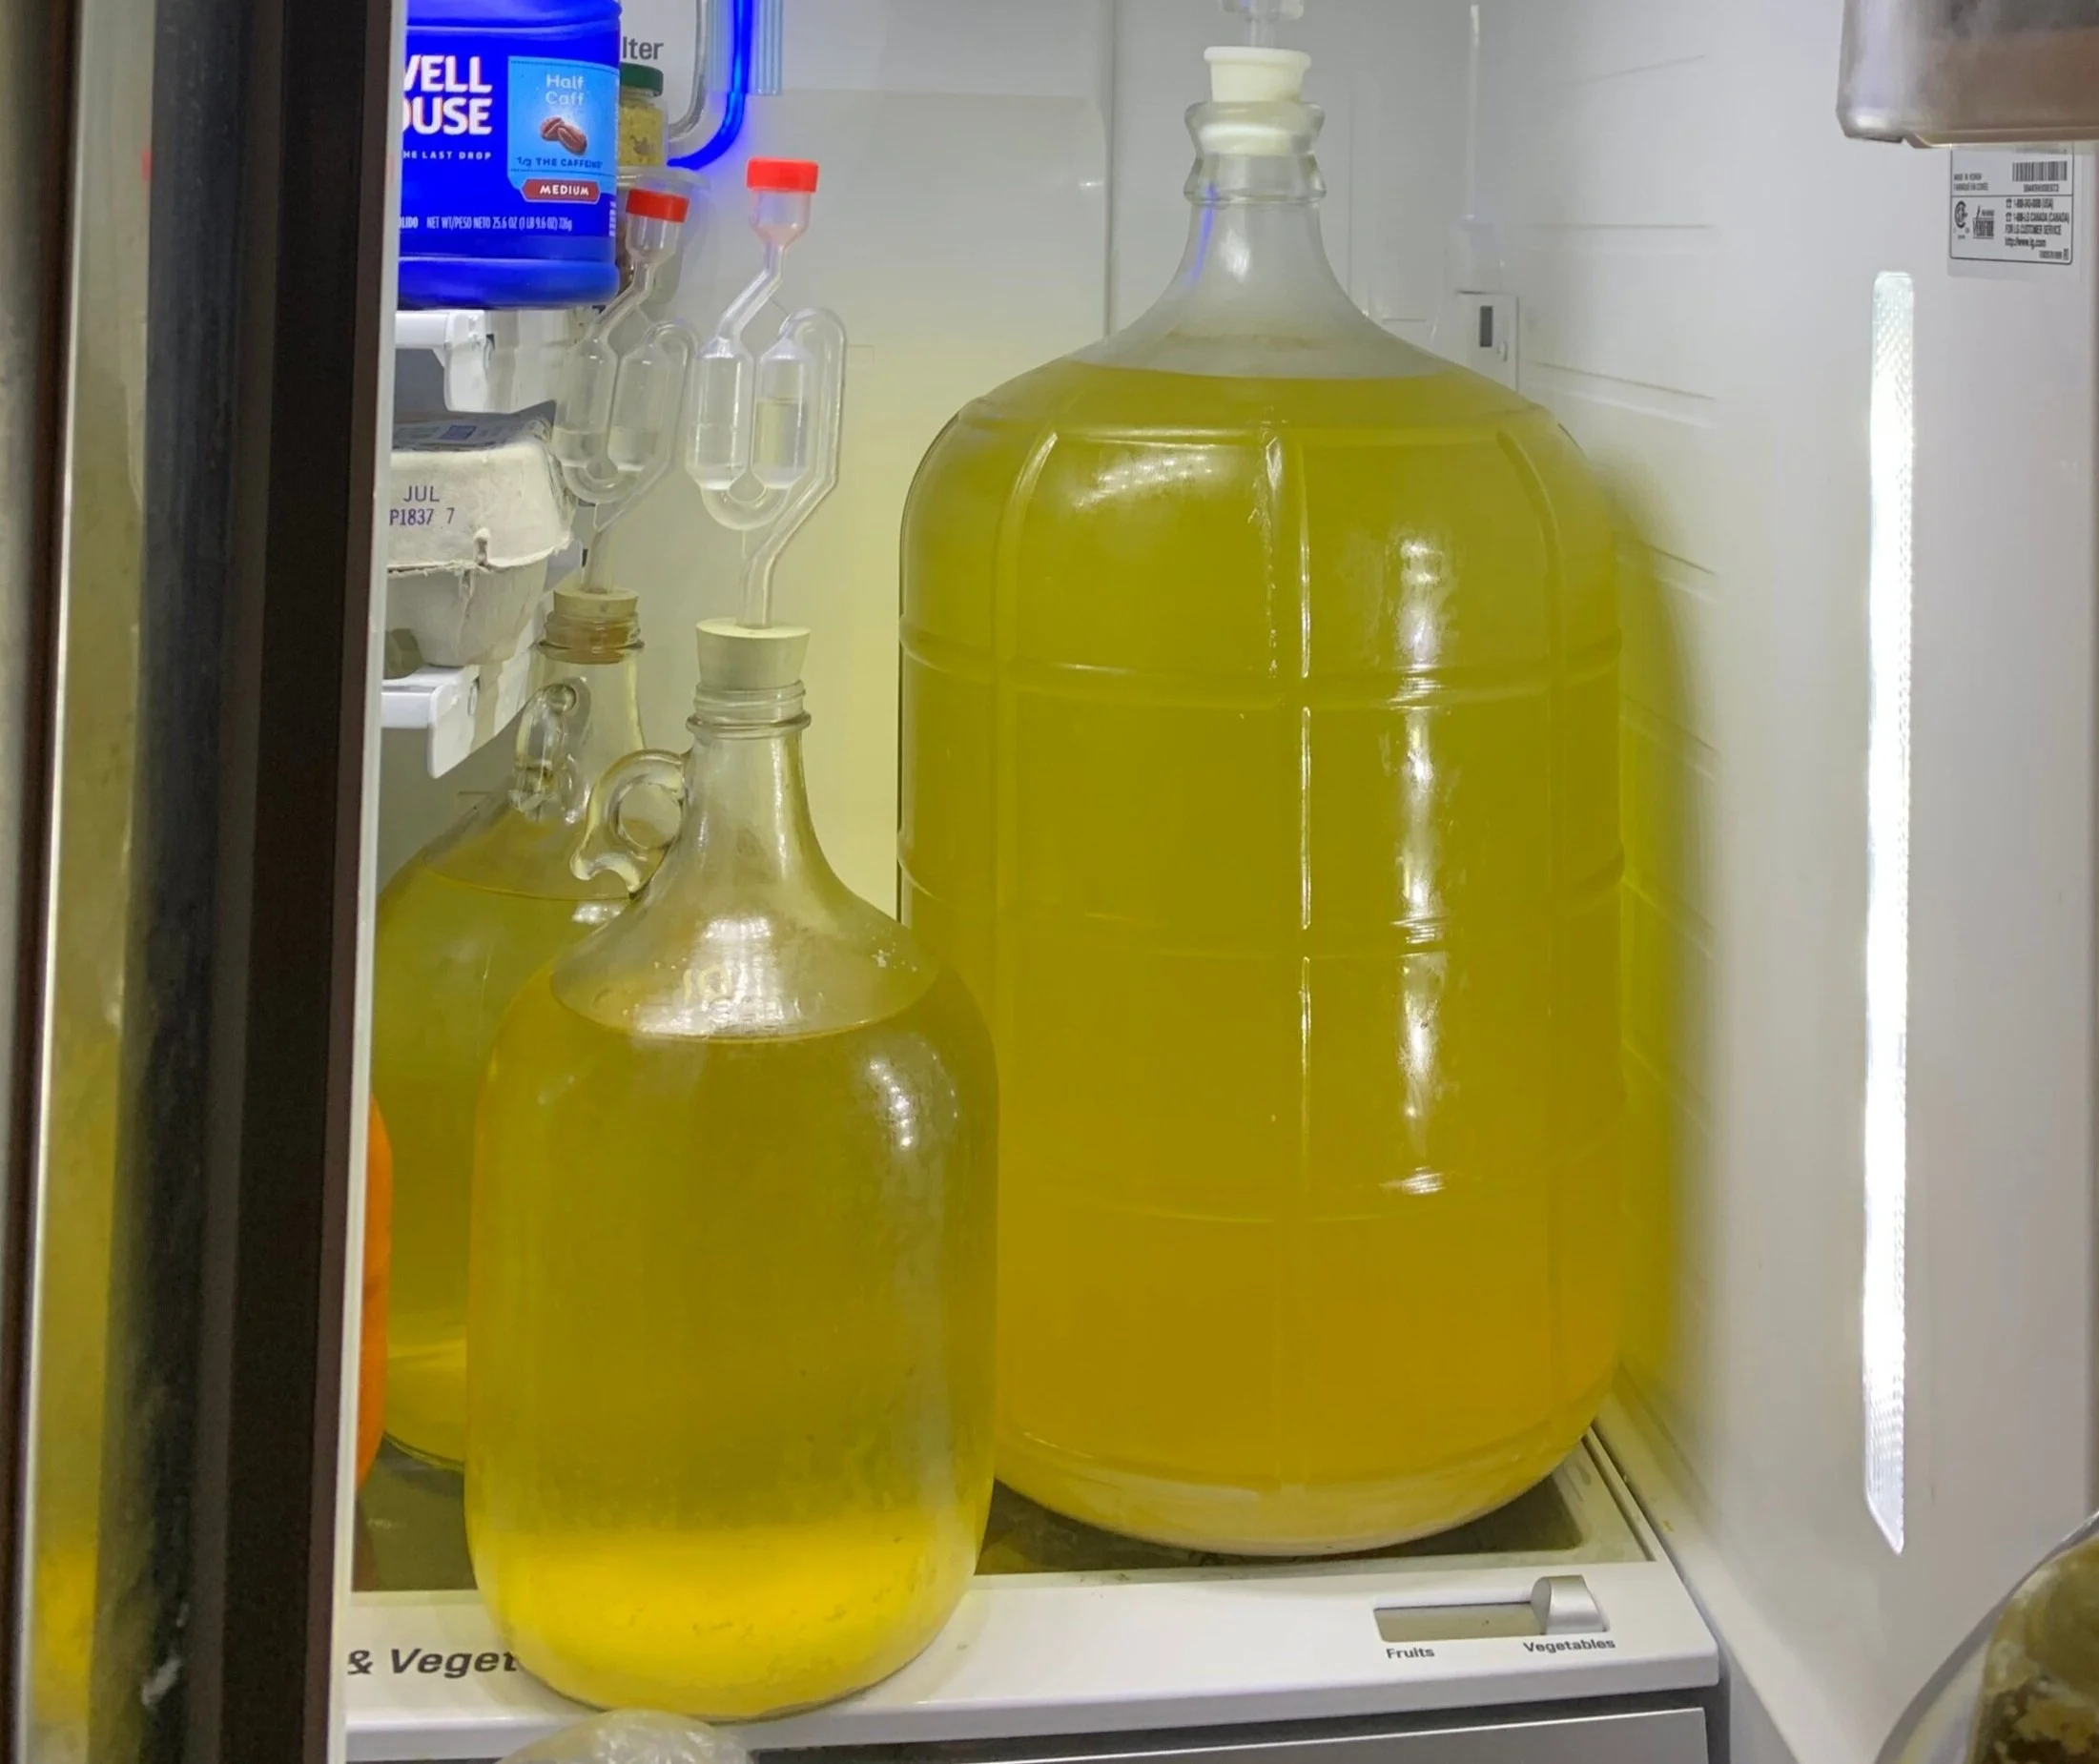
Wash the crusher and a fermentation tub. (Only one tub because we only did 30-gallons of Malbec.)
Set-up your tub and sorting station with plenty of space for your grape crates and trash.
Place two sturdy, clean boards on top of the fermentation tub
Carefully place the crusher perpendicular across the boards. Grab something to collect the stems as they are spit out of the machine. Be sure the stems shoot out into the trash, not the tub!
Go through each box of grapes, bunch by bunch, and remove anything you don’t want to ferment with your wine. This would include leaves, loose stems, foreign objects (in the past we have found some interesting items). Don’t trash the squished grapes if they are not moldy!
Dump the left-over contents into the crusher and let the crusher do its job. When done clean and store the equipment, and begin your wine making.
Keep on crushing until your crates are done, and don’t forget to crack open a bottle or two for your exhausted crush crew!
Sounds simple, right? My problems started immediately. Not having things lined up meant that I did a lot of “go and get it”, and a lot of explaining and educating. As a matter of fact, I explained cleaning the grapes incorrectly. I said, “just remove anything that you don’t want in your wine”. The literal of that statement could cost you grapes.
Another issue was that the grapes were cold and had a lot of debris such as crumbled leaves in the box with them. This made going through the grapes take longer than intended and caused me problems with the must after crush.
Once the crushing was done and I had added my sulfites, I took the temperature of the must. It was 42°F and the garage was about the same. The yeast can’t be pitched until the temp of the must is above 60°F, so I was concerned. I started looking in the garage for anything I could find that was waist high, I built a barrier around the fermentation tub and covered it with thermal blankets making a semi-circle around the tub. Then I took an electric space heater and set it so that the heater would blow heat past the tub and be held in the semi-circle warming the must in the tub. The next morning the grapes were still 42°F so I called in the help of my brother and we built a proper must warmer. I was then able to pitch the yeast when I was scheduled to do so. Yay!
The day after crush there is very little to do. Just check the pH, TA (total acid) and the Brix. The day the yeast is pitched is slow also, as is the next day. It works out perfectly because wine makers and crush crew need to rest after crush! As of today, fermentation has begun and now the grape juice is turning to wine.
Crush is no doubt a lot of work, but a labor of love to recall with a smile as you savor your first sip.